
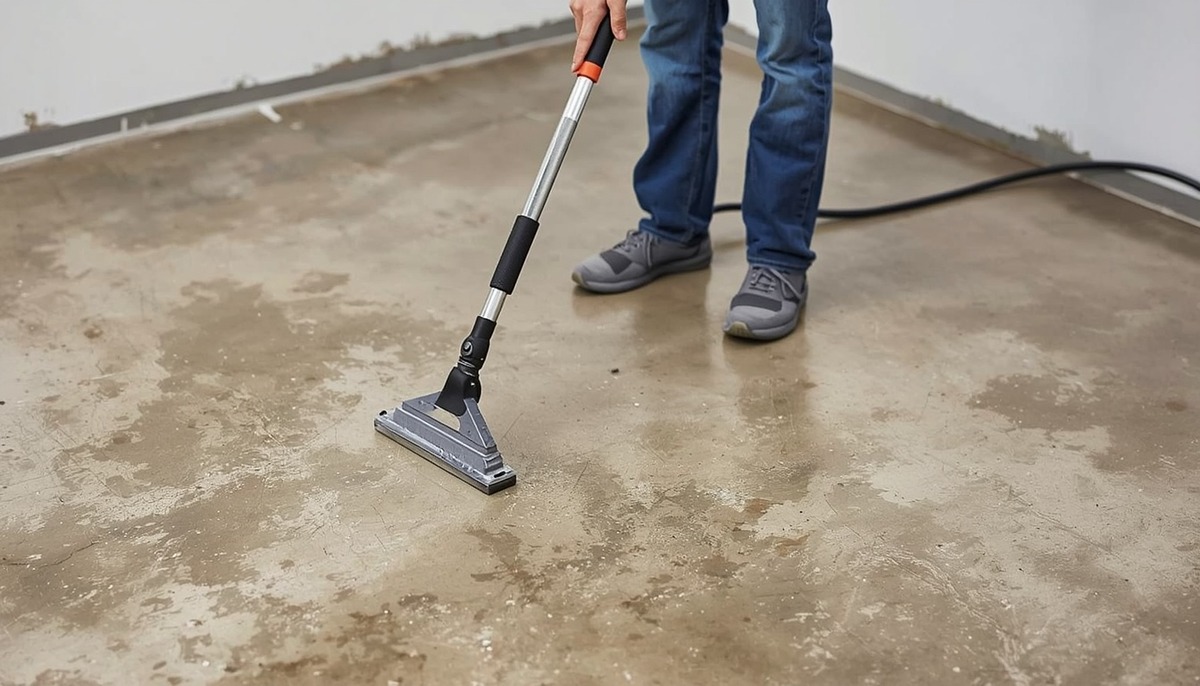
Proper concrete surface preparation before applying a coating is the foundation of a successful flooring project. Whether you’re planning to apply epoxy and polyurethane coatings or decorative terrazzo finishes, investing time in thorough preparation will dramatically improve the durability, appearance, and longevity of your floor coating.
This comprehensive guide walks you through every step of the concrete floor prep process before coating application.
Before diving into the specific steps, it’s important to understand why preparation is critical. A concrete surface that isn’t properly prepared can lead to coating failures, including peeling, flaking, and uneven coverage. Contaminants like dust, oils, moisture, and curing compounds prevent coatings from bonding effectively to the underlying concrete.
Industry estimates suggest that as much as 80% of coating failures trace back to inadequate surface preparation. By investing the time upfront to prepare your concrete floor properly, you’re preventing costly mistakes down the road. This process isn’t just about cleaning, it’s about creating an ideal substrate that allows your chosen coating to perform at its best.
The first phase of preparing a concrete floor for coating involves removing everything from the area. Clear furniture, equipment, and any debris from the floor. Sweep thoroughly to remove loose dirt, dust, and particles.
Next, use a pressure washer or degreaser to eliminate oils, grease, and other contaminants. Concrete floors often accumulate petroleum products, salts, and other substances that compromise adhesion. For stubborn stains, apply a concrete degreaser according to the product instructions and let it sit for the recommended time before rinsing.
Pay special attention to areas around machinery or parking zones where oil accumulation is common. These areas require the most aggressive cleaning approach to ensure a properly prepped surface before coating.
Examine the concrete surface for cracks, spalling, and damage. Even small cracks can expand under the coating and create unsightly blemishes. Use a concrete crack filler or epoxy repair product appropriate for the crack size.
For hairline cracks (less than 1/8 inch), liquid crack fillers work well. Wider cracks may require foam rod insertion followed by polyurethane sealant. Spalled or damaged areas should be ground back to solid concrete and filled with a concrete patching compound — pairing the patch with a bonding agent like Prisma Bond helps the new material adhere securely to the old substrate.
Allow all repairs adequate curing time before moving on to surface profiling. Rushing this step compromises the overall integrity of your finished floor.
One of the most critical steps in preparing a concrete floor for coating is surface profiling. This removes the top layer of concrete, eliminating curing compounds, sealers, and contaminants while creating a roughened surface that promotes coating adhesion.
Grinding is suitable for most applications and creates a consistent, uniform surface. Use a concrete grinder with appropriate grit (typically 80-120 grit for initial grinding). Grind in overlapping passes until the surface appears matte and uniform.
Shot blasting is more aggressive and ideal for heavy-duty applications. It removes surface contaminants more thoroughly and creates optimal profile depth for industrial-grade coatings.
Aim for a surface profile of 1.5-3 mils (on the CSP scale), which is the industry standard for most coating systems.
Moisture is one of the most common culprits in coating failure. Concrete can trap moisture both on the surface and within its pores. Before applying any coating, test moisture levels using:
Most coating manufacturers require moisture levels below 3-4% by weight. If moisture content is too high, allow the concrete to dry further or install a waterproofing coating such as Prisma Seal as part of a moisture mitigation system. Ensure adequate ventilation in the space during the drying period.
After grinding, vacuum and sweep the entire area to remove all dust. Use HEPA-filtered equipment to capture fine particles that can be kicked up during coating application.
Follow with a final damp wipe-down or light wash to remove residual dust. Allow the floor to dry completely before coating. This final step is essential to a successful concrete floor prep before coating application.
Inspect the surface carefully to ensure it’s uniform in color and texture. Check that all cracks are repaired and the surface is structurally sound.
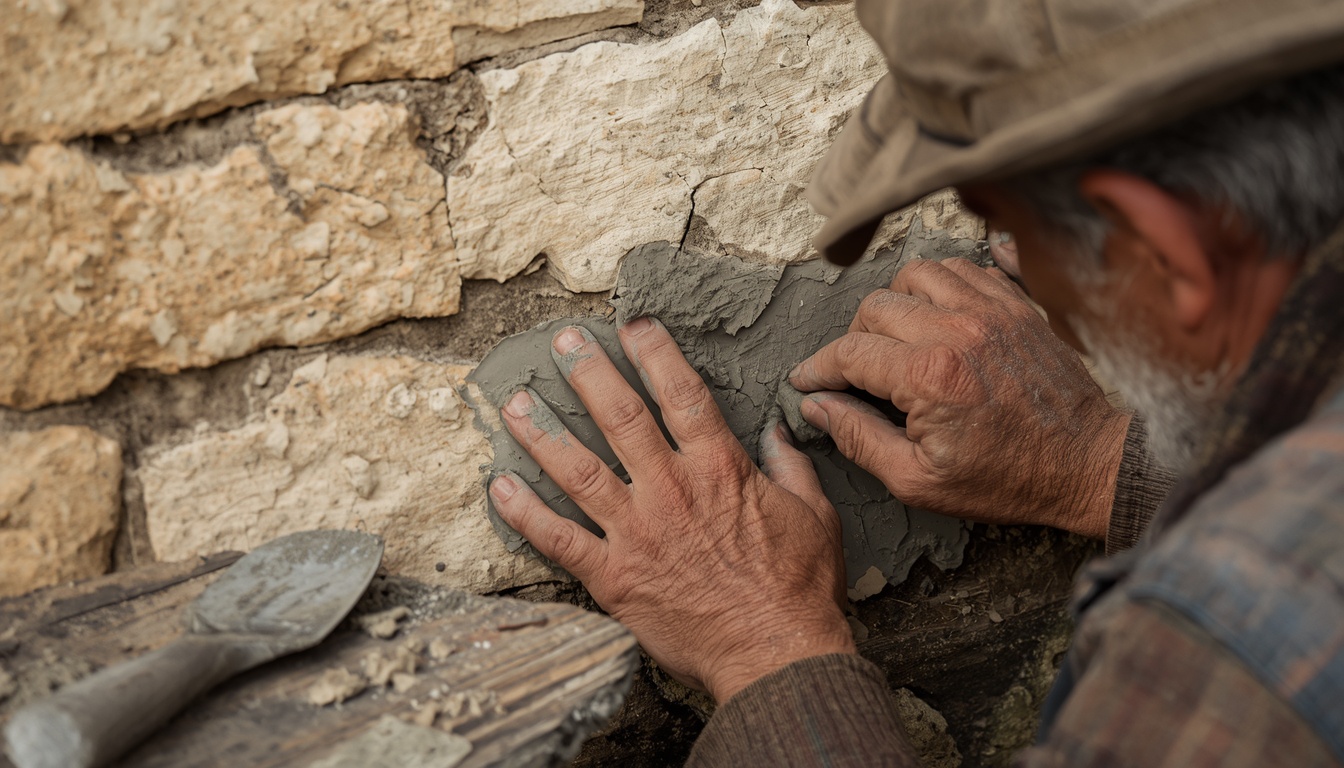
Successful concrete floor coating starts with meticulous preparation. By following these steps, you’re investing in a professional-quality result that withstands daily wear, chemicals, and environmental challenges.
Proper preparation accounts for roughly 60-70% of your coating’s success. Whether you’re protecting a warehouse, garage, retail space, or manufacturing facility, don’t compromise on the fundamentals. Your finished floor will reflect the care you invested in preparation.
The best time to start your concrete floor prep before coating application is now, before your project begins. Use this guide as your roadmap to a flawless finish, or see how Prisma Coatings supports every stage of your project.
Basic cleaning typically takes 1-2 days, while professional grinding and surface profiling can take 2-5 days depending on floor size and condition. Always account for adequate drying time between steps.
Skipping the grinding step is the most common reason for coating failure. Grinding is essential for proper adhesion. The surface profile created during grinding ensures the coating bonds mechanically to the concrete.
Industry standards recommend a CSP (Concrete Surface Profile) of 1.5-3 mils for most applications. Industrial environments may require CSP 2-4 mils for maximum durability.
Test moisture levels before coating application. If levels exceed 3-4% by weight, allow additional drying time or install a moisture barrier system beneath the coating.
Ideally, apply your coating within 48-72 hours of completing surface preparation. Longer delays allow dust and contaminants to resettle on the fresh surface, compromising adhesion.