If you have ever admired perfectly smooth interior walls, chances are they were finished with a skimcoat. Whether you are renovating an old home or preparing new drywall for painting, skim coating is one of the most effective ways to achieve a clean, polished look.
In this detailed guide, you will learn what a skimcoat is, how it works, where it is used, its benefits, the application process, and when it is the right solution for your walls or ceilings.
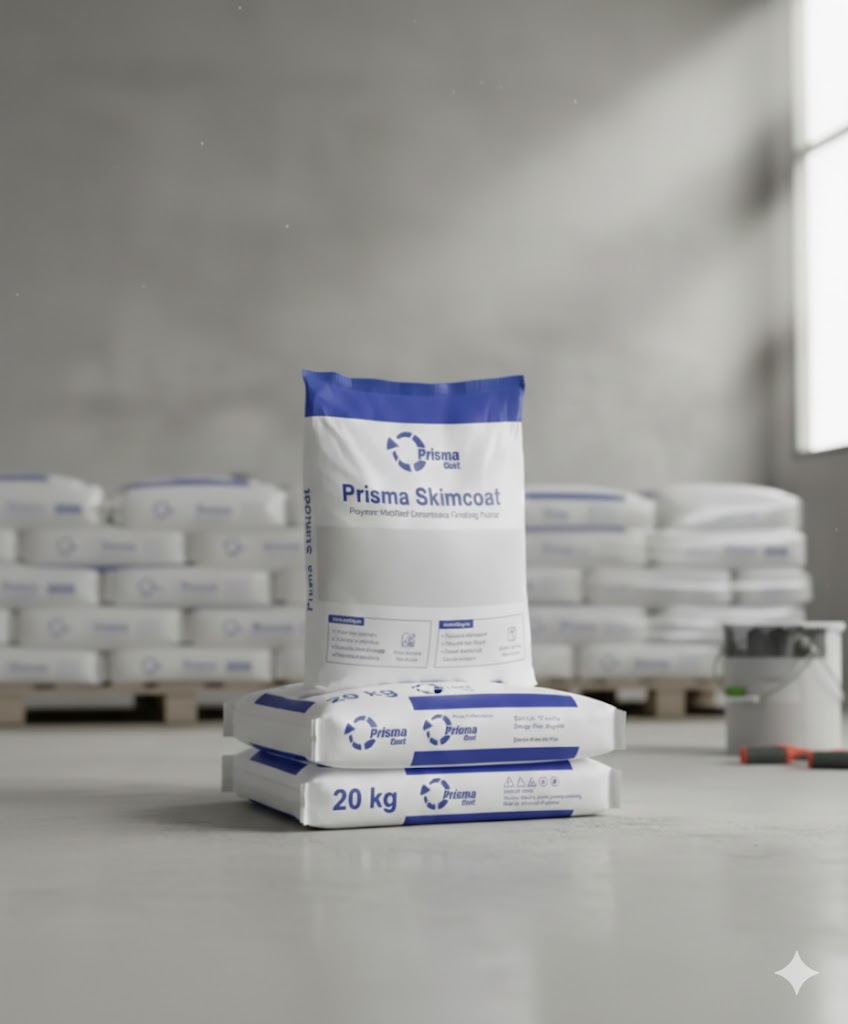
Skimcoat, also known as skim coating, is a thin layer of joint compound or finishing plaster applied over walls or ceilings to create a smooth and even surface. It is typically used to repair damaged walls, hide imperfections, or prepare surfaces for painting or wallpaper installation.
Unlike full plastering, skimcoat involves applying a very thin layer — just enough to level out bumps, cracks, and uneven textures. Once it dries and is sanded, the surface becomes smooth and ready for finishing.
Over time, walls can develop dents, cracks, uneven textures, or patchy repairs. Even new drywall installations often have visible seams and screw holes. Skim coating helps create a uniform surface that improves both appearance and durability.
Here are the main reasons people use skimcoat:
Skim coating can be used in many areas of a home or commercial building.
Many people confuse skimcoat with plastering, but they are not the same.
Plastering involves applying a thicker layer of material to walls, often for structural or leveling purposes. It is typically done on new construction or when walls are severely uneven.
Skimcoat, on the other hand, is a finishing process. It is much thinner and is used primarily to improve surface appearance rather than structure.
Understanding the process helps you see why professional application is often recommended.
Step 1: Surface Preparation
The wall must be cleaned thoroughly. Dust, grease, and loose paint are removed. Cracks or holes are patched first.
Step 2: Mixing the Compound
Joint compound or finishing plaster is mixed to a smooth consistency.
Step 3: Application
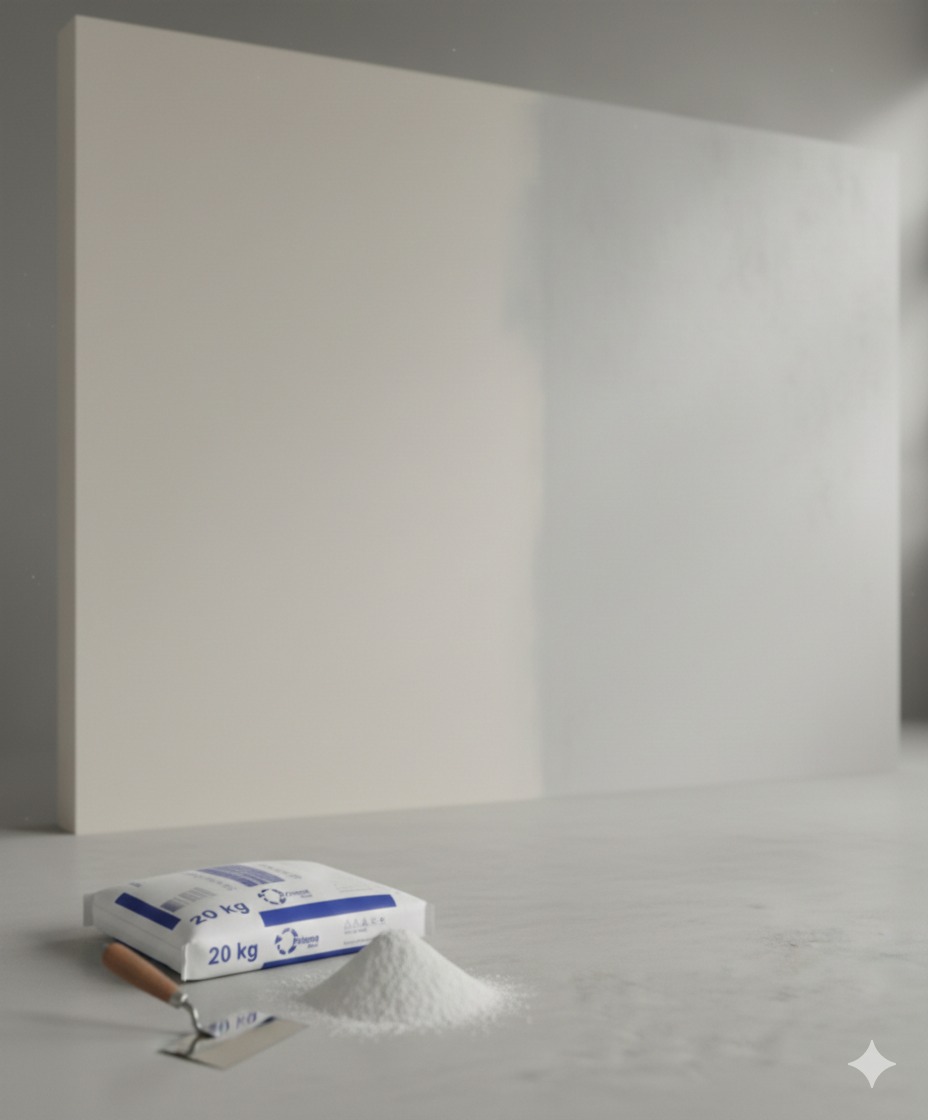
Using a wide drywall knife or trowel, a thin layer of compound is spread evenly across the surface.
Step 4: Drying
The compound is allowed to dry completely. Drying time varies depending on thickness and humidity.
Step 5: Sanding
Once dry, the surface is sanded to remove any ridges or uneven spots.
Step 6: Additional Coats
Sometimes two or three thin coats are applied for a perfectly smooth result.
Step 7: Final Preparation
After sanding, the wall is wiped clean and primed before painting.
There are different methods depending on the surface condition and desired finish.
Traditional Trowel Skim Coat
This is the most common technique using hand tools.
Roll-On Skim Coat
Compound is rolled onto the wall and smoothed with a trowel. It is useful for large areas.
Spray Application
Professionals may spray compound before smoothing it for efficiency in large spaces.
Skipping Surface Preparation
Dust or grease prevents proper adhesion.
Applying Too Thick a Layer
Thick layers can crack during drying.
Insufficient Drying Time
Painting before the skimcoat dries fully can cause peeling.
Poor Sanding
Uneven sanding leads to visible flaws.
You should consider skim coating if:
While skim coating can be done as a DIY project, it requires skill and patience. Achieving a perfectly smooth finish is challenging without experience.
DIY skim coating may be suitable for small areas or minor repairs. However, for large rooms or ceilings, professional services ensure better results and reduce the risk of uneven surfaces.
When applied correctly, skimcoat can last for many years. Its durability depends on:
With proper care, it can remain smooth and intact for decades.
Costs vary depending on:
Generally, skim coating is more affordable than replacing drywall or full plastering, making it a cost-effective renovation option.
Ceilings often show imperfections more clearly because of lighting angles. Skim coating ceilings helps eliminate visible seams, cracks, and patch repairs.
It is especially useful when removing popcorn texture or after water damage repairs.
In areas like bathrooms or kitchens, moisture-resistant compounds should be used. Proper priming and painting are also essential to prevent mold growth.
Always ensure the wall is dry before skim coating to avoid future problems.
After skim coating, priming is crucial. Primer seals the compound and ensures even paint absorption. Skipping primer may result in uneven color or peeling paint.
High-quality paint combined with a properly skim-coated surface produces professional-looking results.
Skimcoat is an effective and affordable way to transform uneven or damaged walls into smooth, flawless surfaces. Whether you are renovating an older home, repairing drywall, or upgrading textured walls, skim coating provides a clean and modern finish.
While small repairs can be handled as a DIY project, larger areas often require professional expertise to achieve the best results. With proper preparation and application, skimcoat enhances appearance, durability, and overall property value.
If you are planning an interior upgrade, skim coating might be the simple yet powerful solution your walls need.
Skimcoat is used to create a smooth and even surface on walls or ceilings by covering minor imperfections, cracks, and textures.
Typically, two to three thin coats are applied for a smooth finish, depending on the wall condition.
Yes, but the painted surface must be cleaned and lightly sanded to ensure proper adhesion.
Drying time varies based on thickness and humidity but usually takes 24 hours between coats.
For minor surface imperfections, skimcoat is more cost-effective and less disruptive than replacing drywall.